Updated in January 2024

In 2022, I had the honor of attending one of my client’s weddings. It was a unique opportunity where I not only assisted with the installation but also had the chance to be a guest and enjoy the festivities. A recurring compliment caught my attention as I mingled with other guests – they loved the beauty of the wedding invitation postage. It struck me that while countless considerations go into crafting custom wedding invitations, the art of curating special postage can truly surprise and delight your guests, setting the tone for the celebration to come.
Planning and executing a wedding requires attention to every little detail, and sending out your wedding invitations is no exception. To ensure that your carefully designed invitations reach your guests in pristine condition and on time, here are some valuable tips for navigating the world of USPS postage in 2024.
1. Proofread Addresses
Before you address your envelopes or hand over your guest list to your stationer or calligrapher, take the time to proofread all guest names and addresses, as well as double-check that the return address is correct. It’s also a good idea to confirm how your stationer or calligrapher prefers to receive addresses before you even begin collecting addresses. I offer both calligraphy guest addressing and digital addressing to my clients.
LEARN MORE: Wedding Invitation Etiquette: Envelope Addressing Etiquette
2. Verify Postage
Take a fully assembled and ready-to-mail invitation suite to the post office and ask a professional postal worker how much the invitation weighs and how much it will cost to mail. It’s a good idea to have this done at the post office you intend to mail your invitations from, as postage estimates can change by location. The required wedding invitation postage is determined based on weight, size, and thickness. For the US, a standard 1 oz. letter typically requires a Forever Stamp, currently valued at $0.68.
Weight
The weight of your invitations plays a significant role in the postage calculation. The weight of the paper and each additional card or element added to your suite increases the final weight of the invitation suite. Currently, each extra ounce (over 1 oz.) is $0.24.
Shape
Oddly shaped envelopes will draw a surcharge at the post office. If your invitations are anything other than a horizontal rectangle, you cannot ship them at a standard letter rate. Rigid, square, or unusually shaped envelopes tend to jam the postal equipment and must be “hand canceled,” thus requiring a nonmachinable surcharge of $0.40.
Unmachinable elements
Wax seals, ribbons, odd shapes, vertically designed envelopes, or square envelopes all require a non-machinable surcharge of $0.40. Wax seals on the envelope’s outside are beautiful but often require more postage and sometimes tear as they run through the machines. Sad but true!
International Postage
Invitations mailed outside of the US require an international postage stamp. Currently, international postage rates are $1.55 for a 1 oz. invitation or save the date. I always recommend weighing your international invitations at the post office before mailing them to check for appropriate postage, as international postage rates vary by country.
3. Machine Processing or Hand-Cancelling
Decide whether you want your invitations to be machine-processed or hand-canceled. While machine processing is more common, some clients opt for hand-canceling to maintain the envelope’s quality, though there is no guarantee that your invitations will arrive in perfect condition even with hand-canceling.
What is hand canceling? It means that instead of your invitations being run through a machine, the stamps are “canceled” by hand with a rubber stamp. Be aware that at some post offices, hand-canceling incurs a non-machinable surcharge of $0.40 per invitation. Since hand canceling is more labor-intensive, it’s best to visit the post office at an off-peak hour to request the service.


4. Select Postage
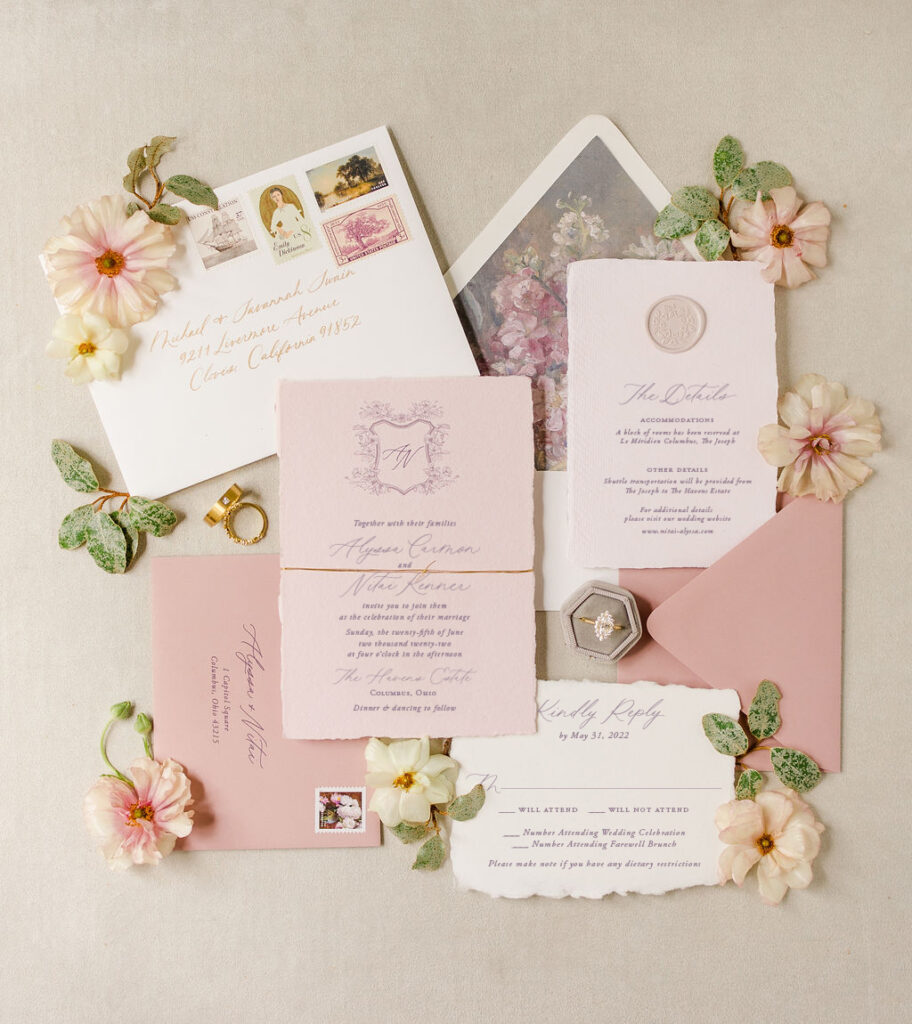
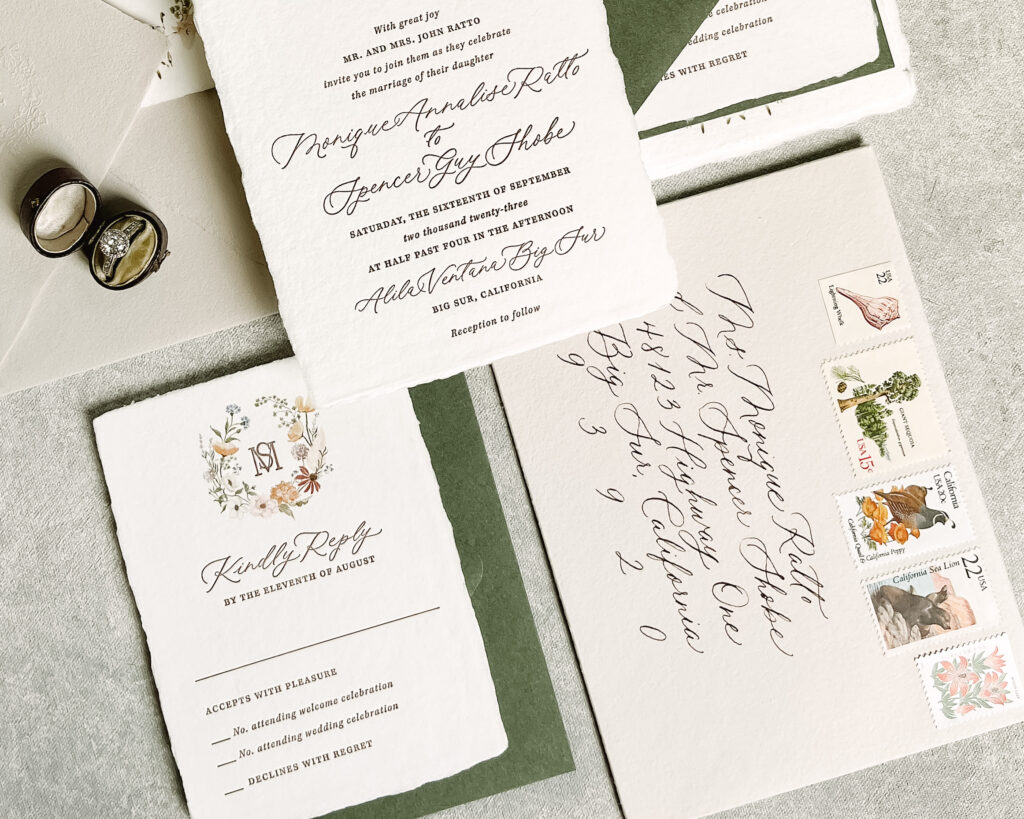
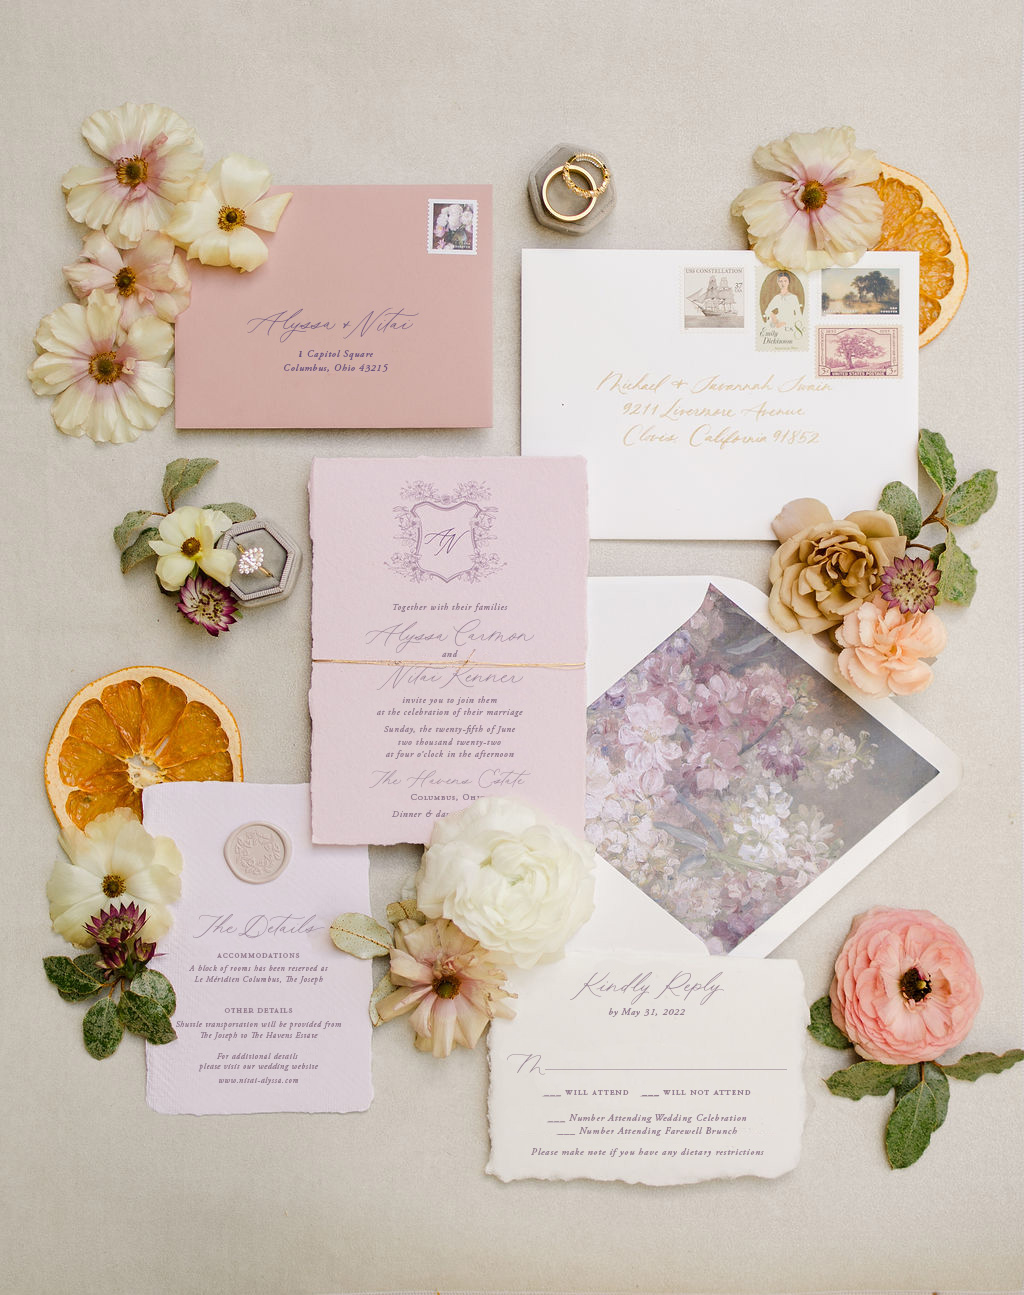
Postage is an often overlooked opportunity to play into the overall design of your invitations. You have the creative freedom to choose between current-issue USPS postage, vintage postage, or even a mix of both. Each option adds a unique touch to your invitations. Current-issue postage ensures a contemporary touch, while vintage postage lends a nostalgic charm. And don’t forget to order postage for your RSVP envelopes! I do not upcharge customers for current-issue or vintage postage, so you will pay exactly what I pay when ordering.
Current Issue Postage
The current issue USPS Forever Stamp is the most common type of wedding invitation postage used. The US Postal Service releases a few new Forever Stamp offerings each year, and it is the cheapest way to mail wedding invitations. Current-issue postage can be purchased at your local post office, but I recommend ordering directly through the USPS website for the best selection. Be wary of purchasing current-issue stamps at a discount from places like eBay or Etsy. There has been a rise in counterfeit postage in recent years, and using fake postage will affect your invitation’s mailability.
Vintage Postage
Expect to pay anywhere from 3-5x the face value of each stamp for vintage postage. Face value is the number on the stamp, and the price can increase based on the rarity or popularity of the stamp. To calculate the postage, add up the total face value of the stamps and ensure that it meets or exceeds the cost required by the post office. Because of the premium attached to vintage postage, I often suggest my clients combine a current forever stamp with a few vintage options to create the same look at a fraction of the cost.
5. RSVP Envelopes
As a courtesy to your guests, ensure that RSVP envelopes or postcards are pre-stamped before mailing. RSVP envelopes rarely weigh more than 1 oz. and will require $0.68 postage, whereas postcards require $0.53.
6. Invitation Assembly
Now it’s time to stack, stuff, and seal your invitations. Arrange all inserts to face the same direction, stack them in a neat set, and stuff them in the envelope as if a right-handed person were opening it. Consider using a Scotch ATG dispenser on the envelope flap to streamline the sealing process. And, before mailing your invitations, make sure everything is properly sealed!
7. Apply Postage
When applying wedding invitation postage, arrange them across the top of the envelope, starting in the upper right corner, or leave them clustered in the upper right corner. Vintage postage adheres well with a glue stick. As I apply postage, I like to take the time to double-check all names and addresses for accuracy, especially if the envelopes have been calligraphed!

8. Mail Invitations
It’s best to mail your invitations 8-10 weeks before your wedding date. For added peace of mind, take them to the post office to have them weighed before mailing to ensure they have adequate postage.
While it might seem like an extra step, I highly suggest personally handing your invitations to a postal worker. Horror stories of invitations getting lost in blue mailboxes or experiencing delays are not uncommon. I’ve even helped a bride reprint her wedding invitations after they were scattered down a Chicago street after a strong gust of wind! Ensuring your invitations are properly handed off provides a sense of assurance.
9. Embrace the Excitement
Prepare yourself for all the positive feedback from your guests! Typically, invitations take 2-7 business days to arrive, though occasionally, mailing times may stretch longer. Keep in mind that the USPS reports a 3% loss rate for mail. Should this unfortunate event occur, having a few extra invitations on hand makes it easy to follow up.
Ultimately, when it comes to your wedding invitations, every detail counts, and figuring out the nuances of postage can be confusing. If you feel overwhelmed by the process, I highly recommend working with a seasoned stationery designer for extra guidance and support!

add a comment
+ COMMENTS